Sunday, January 6, 2019

North Africa Expansion Set is Out!

The first Stars & Crosses campaign expansion: North Africa 1940-43, is on sale at WargameVault. This is a PDF-only rules set that covers aspects of desert warfare, including dust clouds, digging in under fire, flares/night attacks, and hazards to vehicles.

The PDF includes new units (British, German, Italian, and even French!), new terrain types, and four historically-based scenarios to get you started. Buy it here: Stars & Crosses: North Africa

Wednesday, April 18, 2018

New Version of Stars & Crosses Available at Wargame Vault

I haven't updated this blog in some time -- most of the action these days is on the game's Facebook page here. The FB page is a lively group with over 300 members and growing!

The big news is that Stars & Crosses Revised Edition 1.2 is now live at Wargame Vault. This is a major expansion of the game, including parachute drops, gliders, elite units like rangers and commandos, vehicle damage, British units, high-altitude tactical bombing...

It's available as a perfect-bound paperback or as a PDF (PDF is free with the print edition).

Next up: an Africa expansion 1940-43.

Tuesday, March 14, 2017

Stars & Crosses: Designer's Notes

Stars & Crosses is my dream wargame. You can probably guess a few things about my design priorities if you've leafed through the rule book or played a game or two, but here they are writ large:

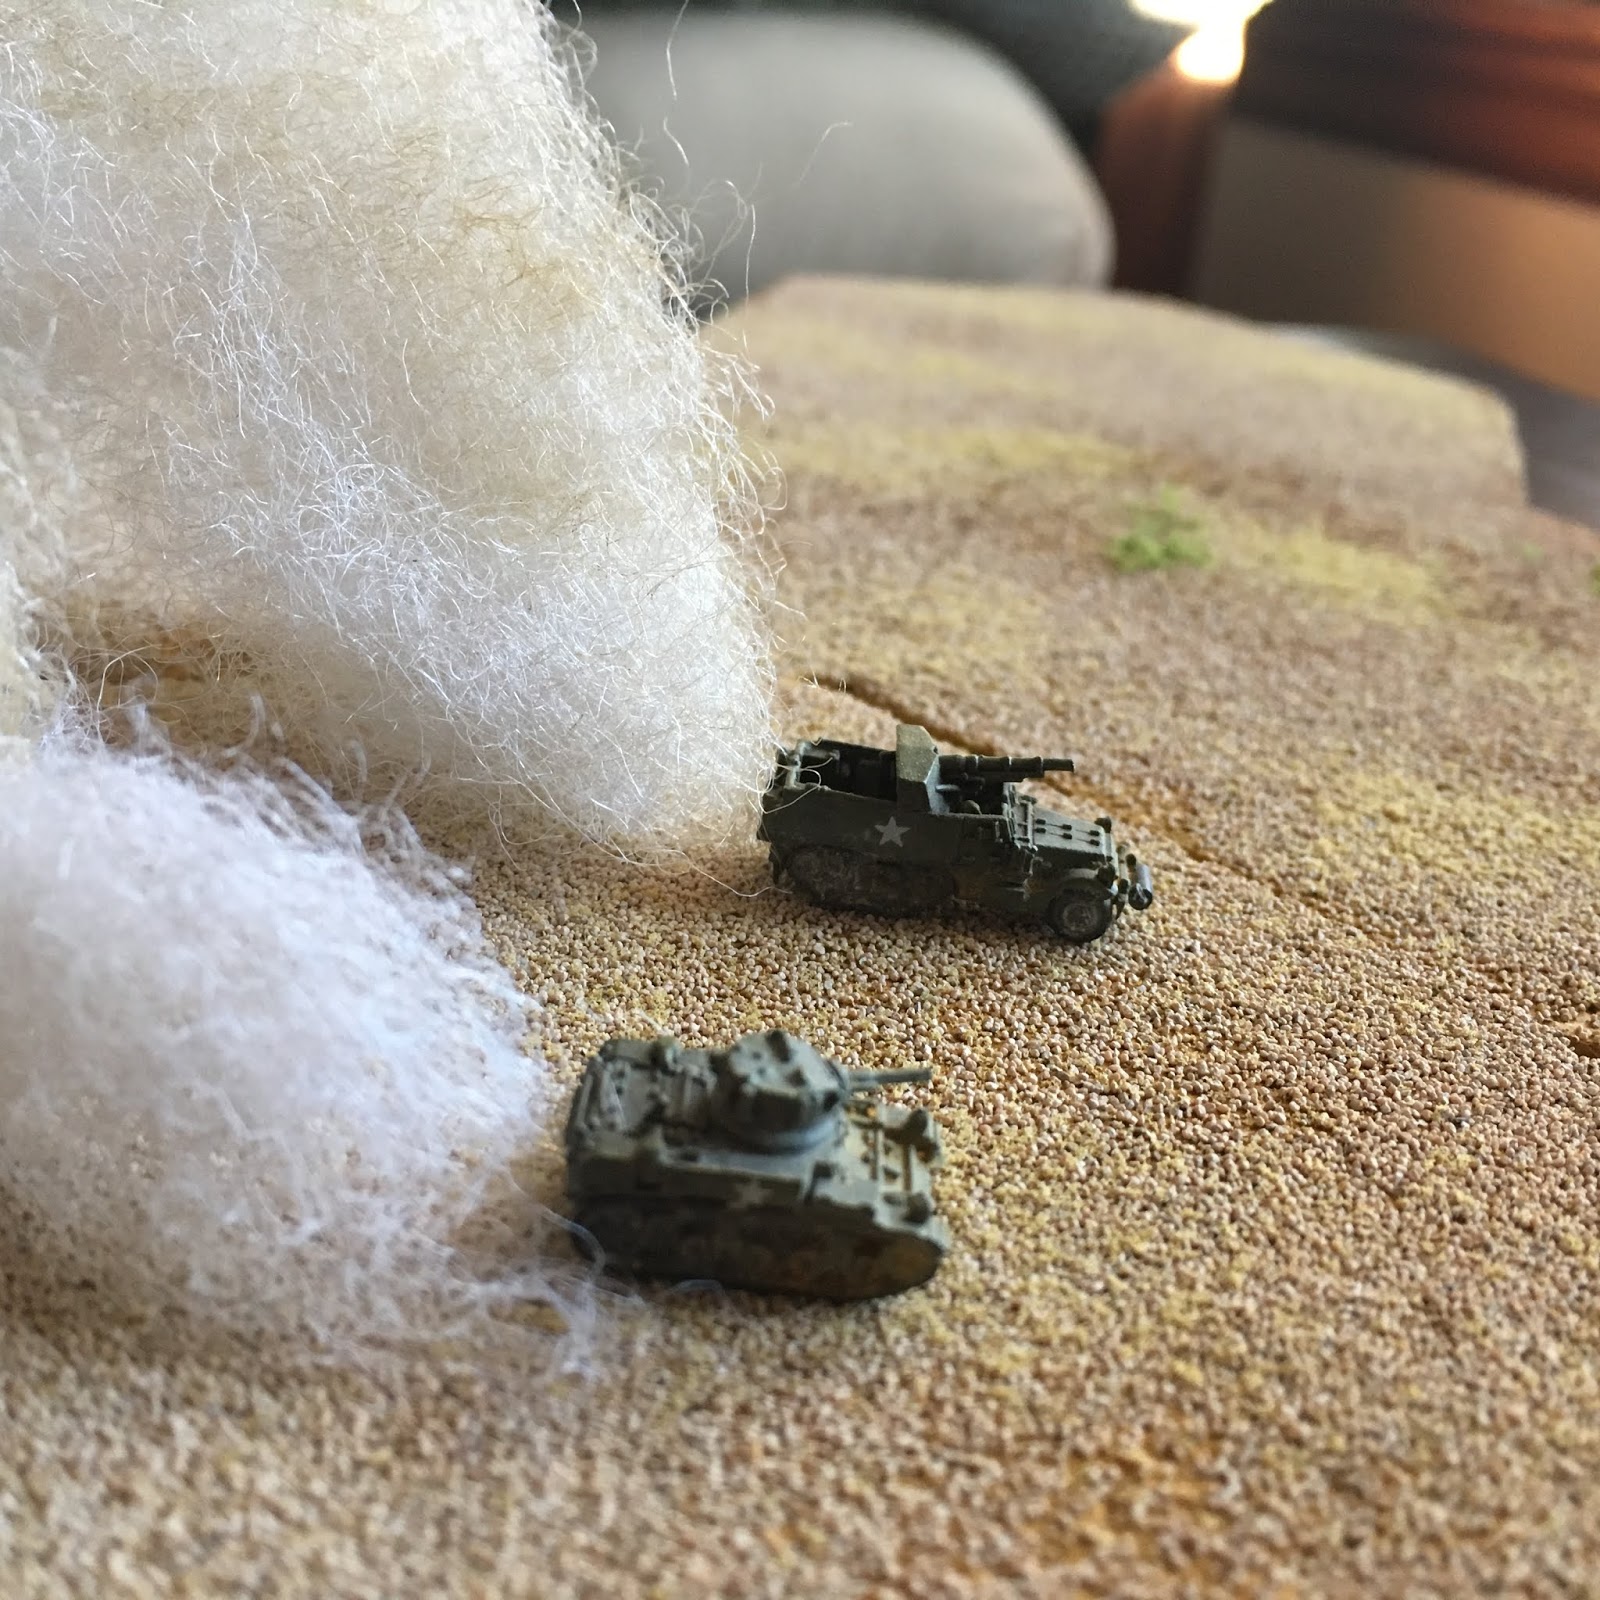
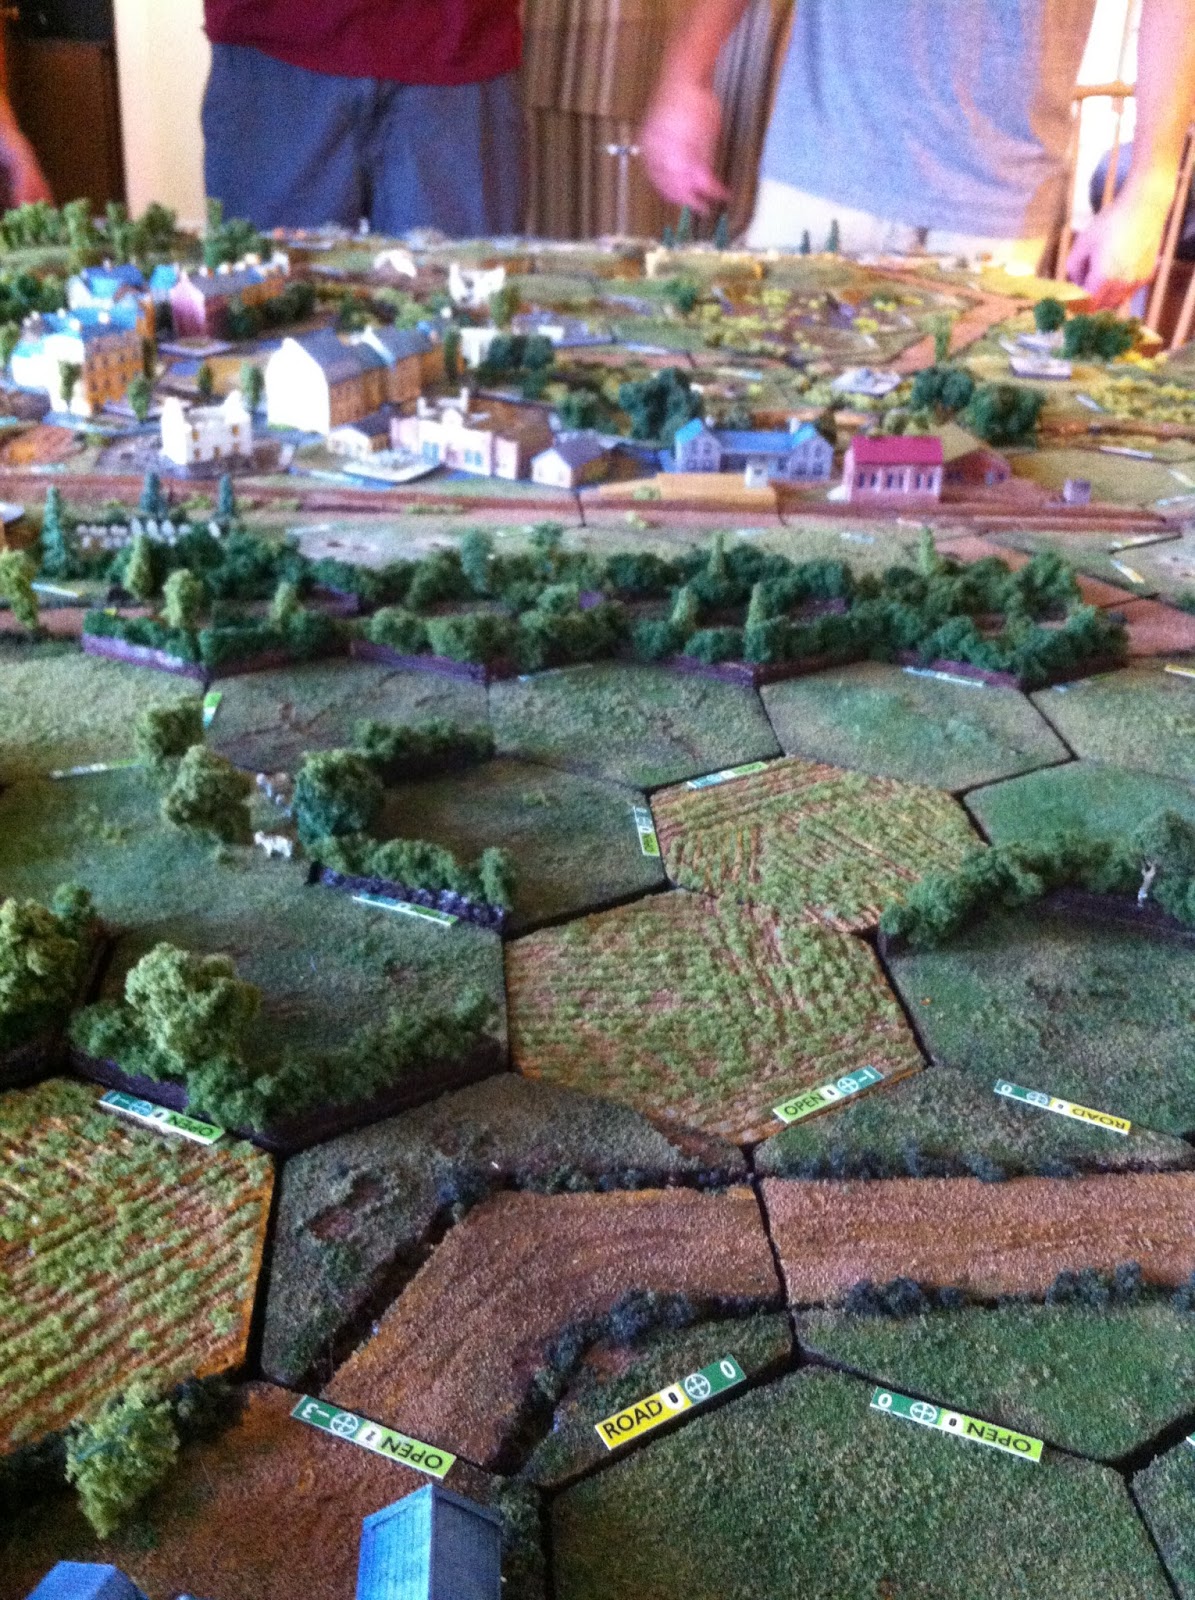
1.,Put the rules on the table, not tables full of rules. I put everything you need to know right on the unit base label -- essentially a hybrid between miniatures gaming and the chit-and-board games my mates and I grew up with. You can spend the game looking down  at the board instead of looking things up in a book. Ditto for terrain -- you can look at a hex and know what the move restrictions and cover bonuses are, because each hex has a defining label.

2. No cause for argument. I wanted hex based, not ruler based movement and sighting/range. No room for differences in interpretation, no judge. I still have bad memories of arguments between players at convention games almost 40 years ago.

3. Modular expert rules. You can add most rules a la carte, depending on their relevance to a scenario and the level of detail you want. Leaving one rule out won't break the game.

4.  Visual clarity: For the rule book, a simple type hierarchy, and each page is treated as a unified element. One core concept per page. Lots more room to let key concepts stand out instead of being buried in a sea of supporting details. Color use is limited and consistently applied. The only concession to "frosting" was using an antiqued/foxed paper background texture.

5. If you play my game, I am your biggest fan. As you know, I make custom unit base labels for free and will stat out pretty much any vehicle. I make commissioned Stars & Crosses terrain. And I actually play my game and keep tinkering, with transparency to the community. Several of you have petitioned successfully for different unit stats and those tweaks will keep happening as long as I can keep up.

As per my recen health problems I can actually sit at my keyboard for short stretches but am still very tentative about my back. Thanks for everyone's good wishes!

Friday, November 4, 2016

Custom Storage Trays for Stars & Crosses Unit Counters!


GCMini.com now offers purpose-built storage trays for Stars & Crosses units!
Click here to go to the product page. Thanks to S&C player Corey for the photo.

Sunday, October 30, 2016

Spotlight on Leven Miniatures

A visual love letter to Leven Miniatures UK, makers of 6mm resin buildings. They are my go-to vendor for micro scale buildings. And their customer service is second to none.
On with the show!


Wednesday, August 3, 2016

Barbed Wire and Dragons Teeth

Another wargame-y post. This one features some barbed wire I made from artists contour mesh cut into tiny strips. Each loop is only about 4mm in diameter, so pretty close to 1/285 scale. Has the little barbs and everything! Also, some dragons teeth antitank obstacles (not scratch built).


Saturday, July 23, 2016

[AAR] 3 vs 3 Stars & Crosses Game

Our Friday night 2 vs 2 game turned into a 3 vs 3 when my nephew asked two of his pals to come over and join the game. I wasn't going to do a beach landing but when they saw the beach terrain they wouldn't take no for an answer. I spun up a scenario where the US Army, having already secured a bridgehead, had to drive the Wehrmacht from a town that was just inland from the beach. The Wehrmacht had to keep at least one unit in the town to avoid losing. The youngsters took the American position and the old gray veterans took the Wehrmacht side. One of the youngsters got advice over the phone from his dad, an ex-Marine who studied iPhone shots of the battle and gave advice.

It was a kitchen-sink affair with several expert rules, most prominently air support and called artillery fire. The Germans had two FW 190 ground attack aircraft, and the Americans had a B26 Marauder and could call in naval gunfire from offshore.

1. On the first turn, the Marauder bombed the church where the Wehrmacht command post and spotter were sited. Sacrilege! The FW 190s had a grand time strafing at will and would keep it up until they were out of ammo and low on fuel and headed back to their distant Flughafen.

2. The Americans assembled an armored force and squeezed their way laboriously up the only exit from the beach. The lead M4 tank was felled by a Panzerfaust hiding in the woods, and the other tankers lost their nerve, stalling the attack. The fact that there was an 8cm flak cannon just down the road may have also contributed to their hesitation.

3. On Turn 3, two Tigers and a Stug III assault gun trundled onto the inland side of the board and clanked toward the stalled American armor attack, hoping to mop it up and push the survivors back to the beach. It didn't work out that way, as you'll see. Enough US infantry were able to crawl their way over the bluffs that the town didn't seem nearly as safe as it had just a few turns earlier. The Tigers and Stug III crossed the stream and make a left hook into town. A lone bazooka team stood them down across the bridge and managed to avoid a blast from the lead Tiger. With nerves of steel, the bazooka fired and brewed up the Tiger, leaving its mate vulnerable on the bridge. Another Marauder bombing run tumbled the bridge into the stream, taking the second Tiger with it. Suddenly we weren't feeling so sorry for Team USA!

4. Weight of numbers and devastating naval gunfire began to take a toll. An American LMG team and rifle platoon crossed the stream and managed to dislodge the German mortar team and HMG ensconced there.

5. A secondary line of defense on the far side of the town square kept the Americans from taking the whole town, but at that point, it became clear that they could grind down the remaining Germans with called artillery fire. The Germans left town and conceded the game at about 11 pm.

Here's an annotated map of the battlefield, with some other terrain shots. 
Overview of the battle